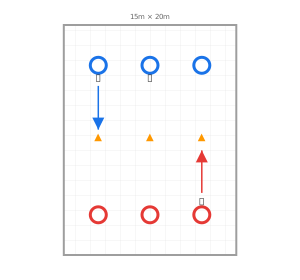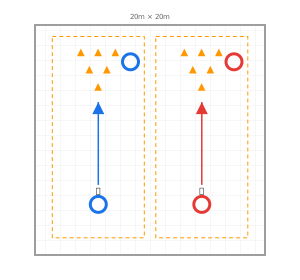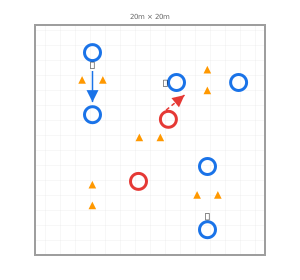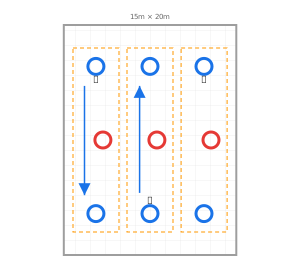
How to set it up
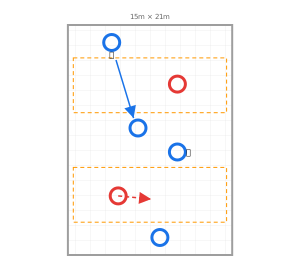
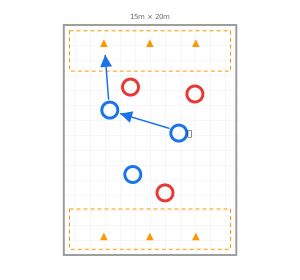
- Mark small squares with four cones, about 5 by 5 metres for U6, bigger for older players.
- Four players around each square, one on each side, standing outside it.
- One ball per square to start; a second ball later.
How to play
- The players pass to each other across the square. Every pass has to be played from outside the square and received outside it.
- Each completed pass scores a point for the group.
- A pass that is received inside the square, or not controlled, resets the group's score to zero.
- Play one-minute rounds; the square with the highest streak wins.
- Then add a second ball to the same square: two balls moving at once, and the two must not collide.
Why it works
The reset is what makes it a game. A streak of eight is worth protecting, so children start to pass with care, call a name and check their partner is ready.
The second ball adds the decision: who is free to receive right now, and who is about to get the other ball?
What to coach
- Look up before passing: is your teammate ready?
- Move along your side of the square so the passer can see you.
- Stop the ball under your sole with your body behind it, chest facing the pass.
- Talk: a name, a hand up, eye contact.
Questions to ask
- "How did you know your partner was ready?"
- "What made the streak break?"
- "With two balls, how did you avoid passing to someone who already had one?"
Make it easier, make it harder
- Easier: a bigger square, a stop allowed before every pass, one ball only.
- Harder: two touches, then one touch; a 7 by 7 metre square with any part of the foot; two players per side and four balls.
How to adapt it by age
- U6 to U7: one ball, sole stop allowed, a 5 by 5 square.
- U8 to U9: a 7 by 7 square, the outside of the foot allowed, the second ball.
- U10: a 10 by 10 square, two players per side, one or two touches, receiving on the move.
Put it in a session
Hobbit plans the whole practice around this game for your age group, numbers and space, with a diagram for every block.